SSL Certificates
You can take advnatage can take advantage of our free SSL certificates that are automatically configured and renewed for every project using Let’s Encrypt.
You can also upload your own Standard, Wildcard, or Extended Validation certificates. To get started managing SSL certificates see our how to guide on managing HTTP Traffic.
Adding Custom SSL Certificates
1) Navigate to HTTPS page
Log into CloudFlow Console, navigate to the project, then Settings then TLS certificates.
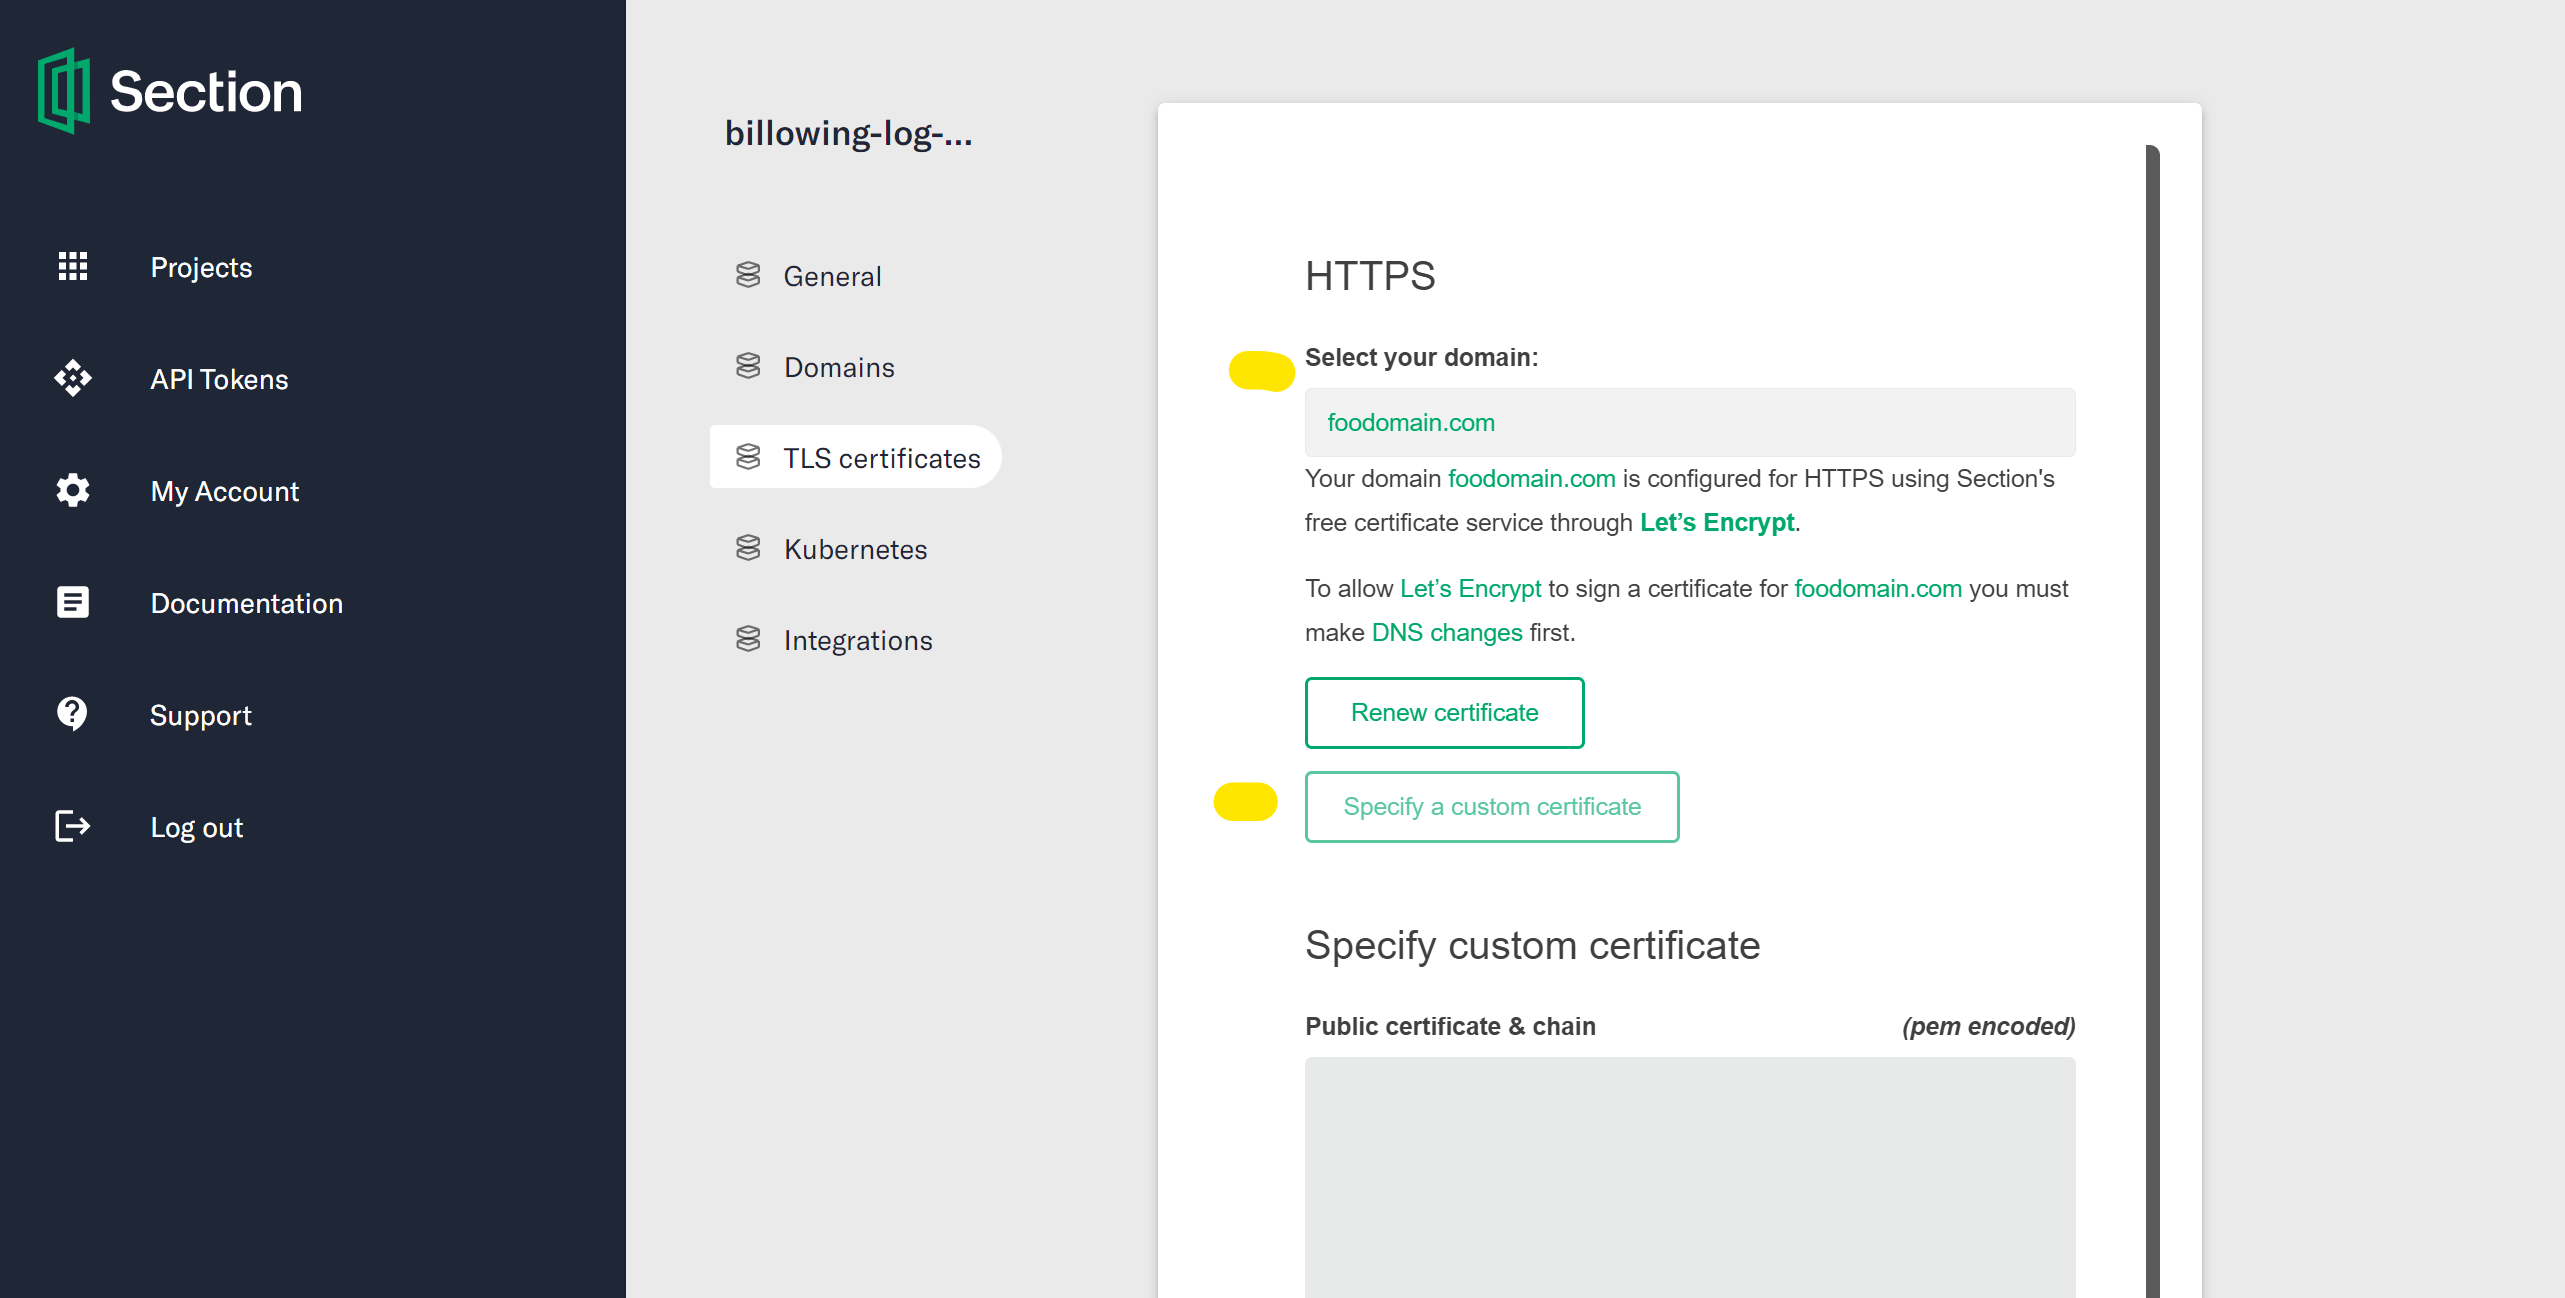
2) Select your desired domain
The dropdown will automatically fill with the first domain listed in your application. If that's not the domain you want, select the correct one from the dropdown.
If you have multiple sub-domains in this application and wish to upload a wild card certificate or a certificate with multiple domains in the Subject Alternate Name(SAN), you will need to upload the certificate for each domain.
You will see a button entitled "Specify a custom certificate", or "Change custom certificate" depending on whether you have previously uploaded a custom certificate for the application. This will render two input boxes on the page — one for "Public certificate & chain" and the other for "Private key."
3) Paste certificate and key
You will need to copy the site certificate and any intermediate certificates into the "Public certificate & chain" box.
The order of certificates needs to be domain certificate first, followed by any intermediate certificate(s) in order. Make sure NOT to include the root certificate. The certificates should be PEM encoded and will look like this in a text editor:
-----BEGIN CERTIFICATE-----
/* contents of domain certificate */
-----END CERTIFICATE-----
-----BEGIN CERTIFICATE-----
/* contents of intermediate certificate */
-----END CERTIFICATE-----
If there are multiple intermediate certificates, you will need to make sure they are in the correct order.
-----BEGIN CERTIFICATE-----
/* contents of domain certificate */
-----END CERTIFICATE-----
-----BEGIN CERTIFICATE-----
/* contents of intermediate certificate 1*/
-----END CERTIFICATE-----
-----BEGIN CERTIFICATE-----
/* contents of intermediate certificate 2*/
-----END CERTIFICATE-----
Now copy and paste your private key in to the "Private key" input area. the private key should look like:
-----BEGIN RSA PRIVATE KEY-----
/* contents of private key */
-----END RSA PRIVATE KEY-----
4) Upload
Once you have copy and pasted the certificates and private key, click the "Save Changes" button. The portal will perform a check to make sure the certificate is for the correct domain, and the private key is a match for the certificate. Once that is accepted, a deployment is made to the CloudFlow platform and you should see the new certificate on the site in moments. You will also see the uploaded certificate information at the right hand side of the HTTPS page.