So you’ve installed Varnish Cache, now what? How can you tell whether or not it gave you the performance improvement you expected? You’d be surprised how many people get Varnish Cache up and running and end up flying blind. Without proper logs and metrics you have few ways of knowing if Varnish Cache is actually doing what you think and giving you the performance benefits you are looking for. In addition, Varnish Cache often needs to be tuned after the initial setup to ensure that new items are properly cached and you are accounting for the behaviors of your specific users in your cache setup.
How to Monitor Varnish Cache
To understand how Varnish Cache is behaving you’ll need to process logs provided by Varnish Cache’s toolset. First you’ll need to configure varnishncsa to start writing logs and set up a log file rotation. You can then search logs using grep to find the requests you want to examine. Varnishstat is another tool that provides several interesting statistics that you can examine when you have a problem, or use as ongoing statistics to regularly check the health of your system.
These logs will be in a very basic format and may need sifting through to fully comprehend what is going on. You can see a list of the Varnish metrics and counters to look at here.
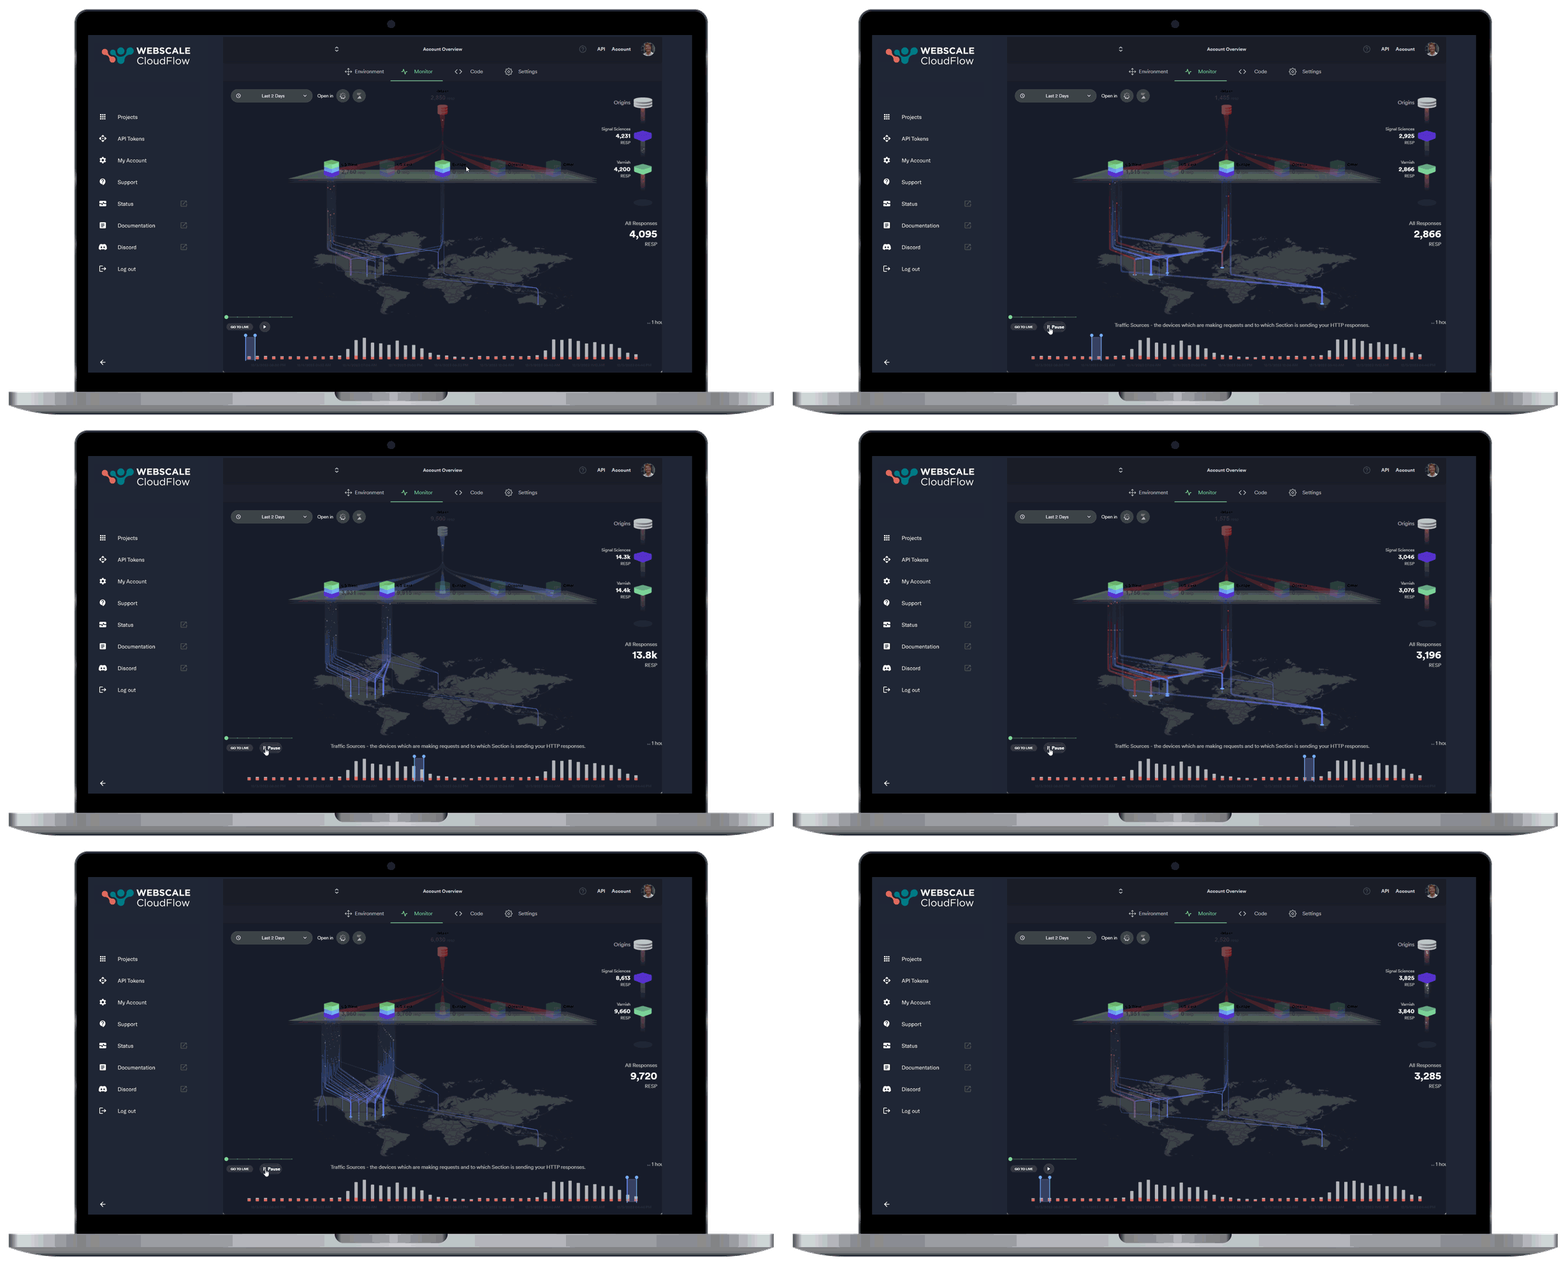
A more advanced setup can aggregate and consolidate this data in an easy to use way that can be utilized by both development and operations teams to diagnose and resolve issues. Solutions such as Section will provide detailed logs and metrics out-of-the-box, and we’ve also outlined some free tools below that you can use to set up logging yourself.
First, to understand things like cache hit rates by content-type, user-agent and GeoIP:
- Use varnishncsa with a decent log format that captures a lot of data.
- Ship those logs to a centralised log processing system, using rsyslog or syslog-ng.
- Run Logstash using a syslog input or UDP input to receive the log lines.
- During Logstash processing, use the GeoIP filter and user-agent filter detection to enrich the data.
- Set up statsd from etsy, and point the Logstash output to statsd.
- We set statsd to flush aggregate data with means, medians and various percentiles to carbon-relay, the component of the Graphite stack that receives data.
- Carbon-relay pushes to carbon-cache, which persists the files.
- We then use graphite-web to perform ad hoc queries on the data.
Secondly, for statistics from the instances of Varnish Cache:
- We run varnishstat as a collectd job periodically.
- collectd forwards the data obtained from varnishstat to our carbon-relay as above.
- carbon-relay sends the data to carbon-cache.
- We can then perform ad hoc queries on a single instance of Varnish Cache or look at the Varnish Cache cluster as a whole.
- Graphite-web supports creating dashboards, so you can use those ad hoc queries you find interesting and group them together to build reusable metrics for Varnish Cache that you can use to maintain the health of your system.
In order to make these more manageable, you can use Tessera or Grafana to build dashboards with better interfaces that suit your system’s requirements without needing complex programming. At Section we use a combination of Graphite metrics with Grafana dashboards that are set up and ready to go in the Section portal.
Varnish Logs
In addition to monitoring tools you’ll also want to set up some detailed logging tools which will give you statistics on number of errors and other important information. We recommend setting up a centralized log system based on the ELK stack which will store logs and allow you to search and visualize them easily. As a quick refresher on the ELK stack, it consists of these three open source tools working together:
-
ElasticSearch is a near-real time search engine that, as the name implies, is highly scalable and flexible. It centrally stores data so documents can be searched quickly, and allows for advanced queries so developers can get detailed analysis. ElasticSearch is based on the Lucene search engine, another open-source software, and built with RESTful APIs for simple deployment.
-
LogStash is the data collection pipeline which sits in front of ElasticSearch to collect data inputs and pipe said data to a variety of different destinations - ElasticSearch being the destination for this data when utilizing the ELK Stack. LogStash supports a wide range of data types and sources (including web applications, hosting services, content delivery solutions, and web application firewalls or caching servers), and can collect them all at once so you have all the data you need immediately.
-
Kibana visualizes ElasticSearch documents so it’s easy for developers to have immediate insight into the documents stored and how the system is operating. Kibana offers interactive diagrams that can visualize complex queries done through ElasticSearch, along with Geospatial data and timelines that show you different services are performing over time. Kibana also makes it easy for developers to create and save custom graphs that fit the needs of their specific applications.
You can detailed instructions on setting up the ELK Stack from Digital Ocean. To set up an ELK stack for Varnish Cache, follow these basic steps:
- Run varnishncsa on your hosts, and use rsyslog or syslog-ng to ship the data to a Logstash endpoint.
- Configure Logstash to accept your data, and enrich the data with the various filters that Logstash provides.
- Configure Logstash to output your data to an elasticsearch cluster.
- Use Kibana to query the data in an ad hoc fashion, or build your own Varnish Cache management console.
Using a combination of these logs and the metrics described above will ensure you have the answers to any questions about Varnish Cache hit rate, error rates, and more.
Metrics to Examine
Once you have a metrics system set up you’ll need to determine which metrics to look at to properly assess how Varnish Cache is working. While you will likely want to look at some specific metrics for your website, here are the major Varnish Cache metrics you should utilize to monitor the health of your Varnish Cache configuration.
-
Cache hit rate: The overall cache hit rate is usually the most looked at cache metric because it demonstrates the percentage of requests that have been successfully served from cache. While you can use this to get a quick look at your cache performance, it is more important to understand what types of files are being cached and why certain file types are not being cached, as explained in the next section.
-
Cache hit by asset type: By looking at cache hit rate by asset type (images, CSS, HTML document, Javascript) you can get a much clearer picture of how much content is being cached by VCL. Because websites have a large number of images, if all images are cached this will inflate the overall cache hit rate and hide the fact that the files which take longer for your server to produce - such as HTML documents - are not being cached.
-
Cache miss: A cache miss means Varnish Cache looked for this item in the cache and did not find it - this could be because it is the first request for that item and it needs to be fetched from the back end before being cached, or because Varnish Cache thought it was a cacheable item but found for some reason it was not cacheable. If your VCL is configured well, you will have a low cache miss rate.
-
Cache pass: A cache pass means an item is marked as uncacheable in a subroutine. While the item still passes through Varnish Cache to be delivered, Varnish Cache does not try to look it up in the cache or try to cache it before it is delivered. A high cache pass rate could mean you are not caching as much content as you should to achieve optimal performance.
-
Time to serve by cache status: This metric will tell you how long an item takes to be delivered if it was a cache miss, hit, or pass. By looking at this metric you will see the difference in delivery times for each status.
-
Time to serve by asset type: This metric shows you how long each asset type takes to be delivered. You can use this metric to tell what file types are taking longer to deliver, and thus optimize your caching configuration to cache as many of those files as possible.
To learn more about how to get started with Varnish Cache, including writing Varnish Cache Configuration Language to cache content for your application please download the full Varnish Cache Guide. If you have specific questions about Varnish Cache and VCL check out our community forum or contact us at [info@section.io](mailto: info@section.io) and one of our Varnish Cache experts would be happy to help you.