DNS
Learn how to identify and fix DNS issues that you may run into while using CloudFlow.
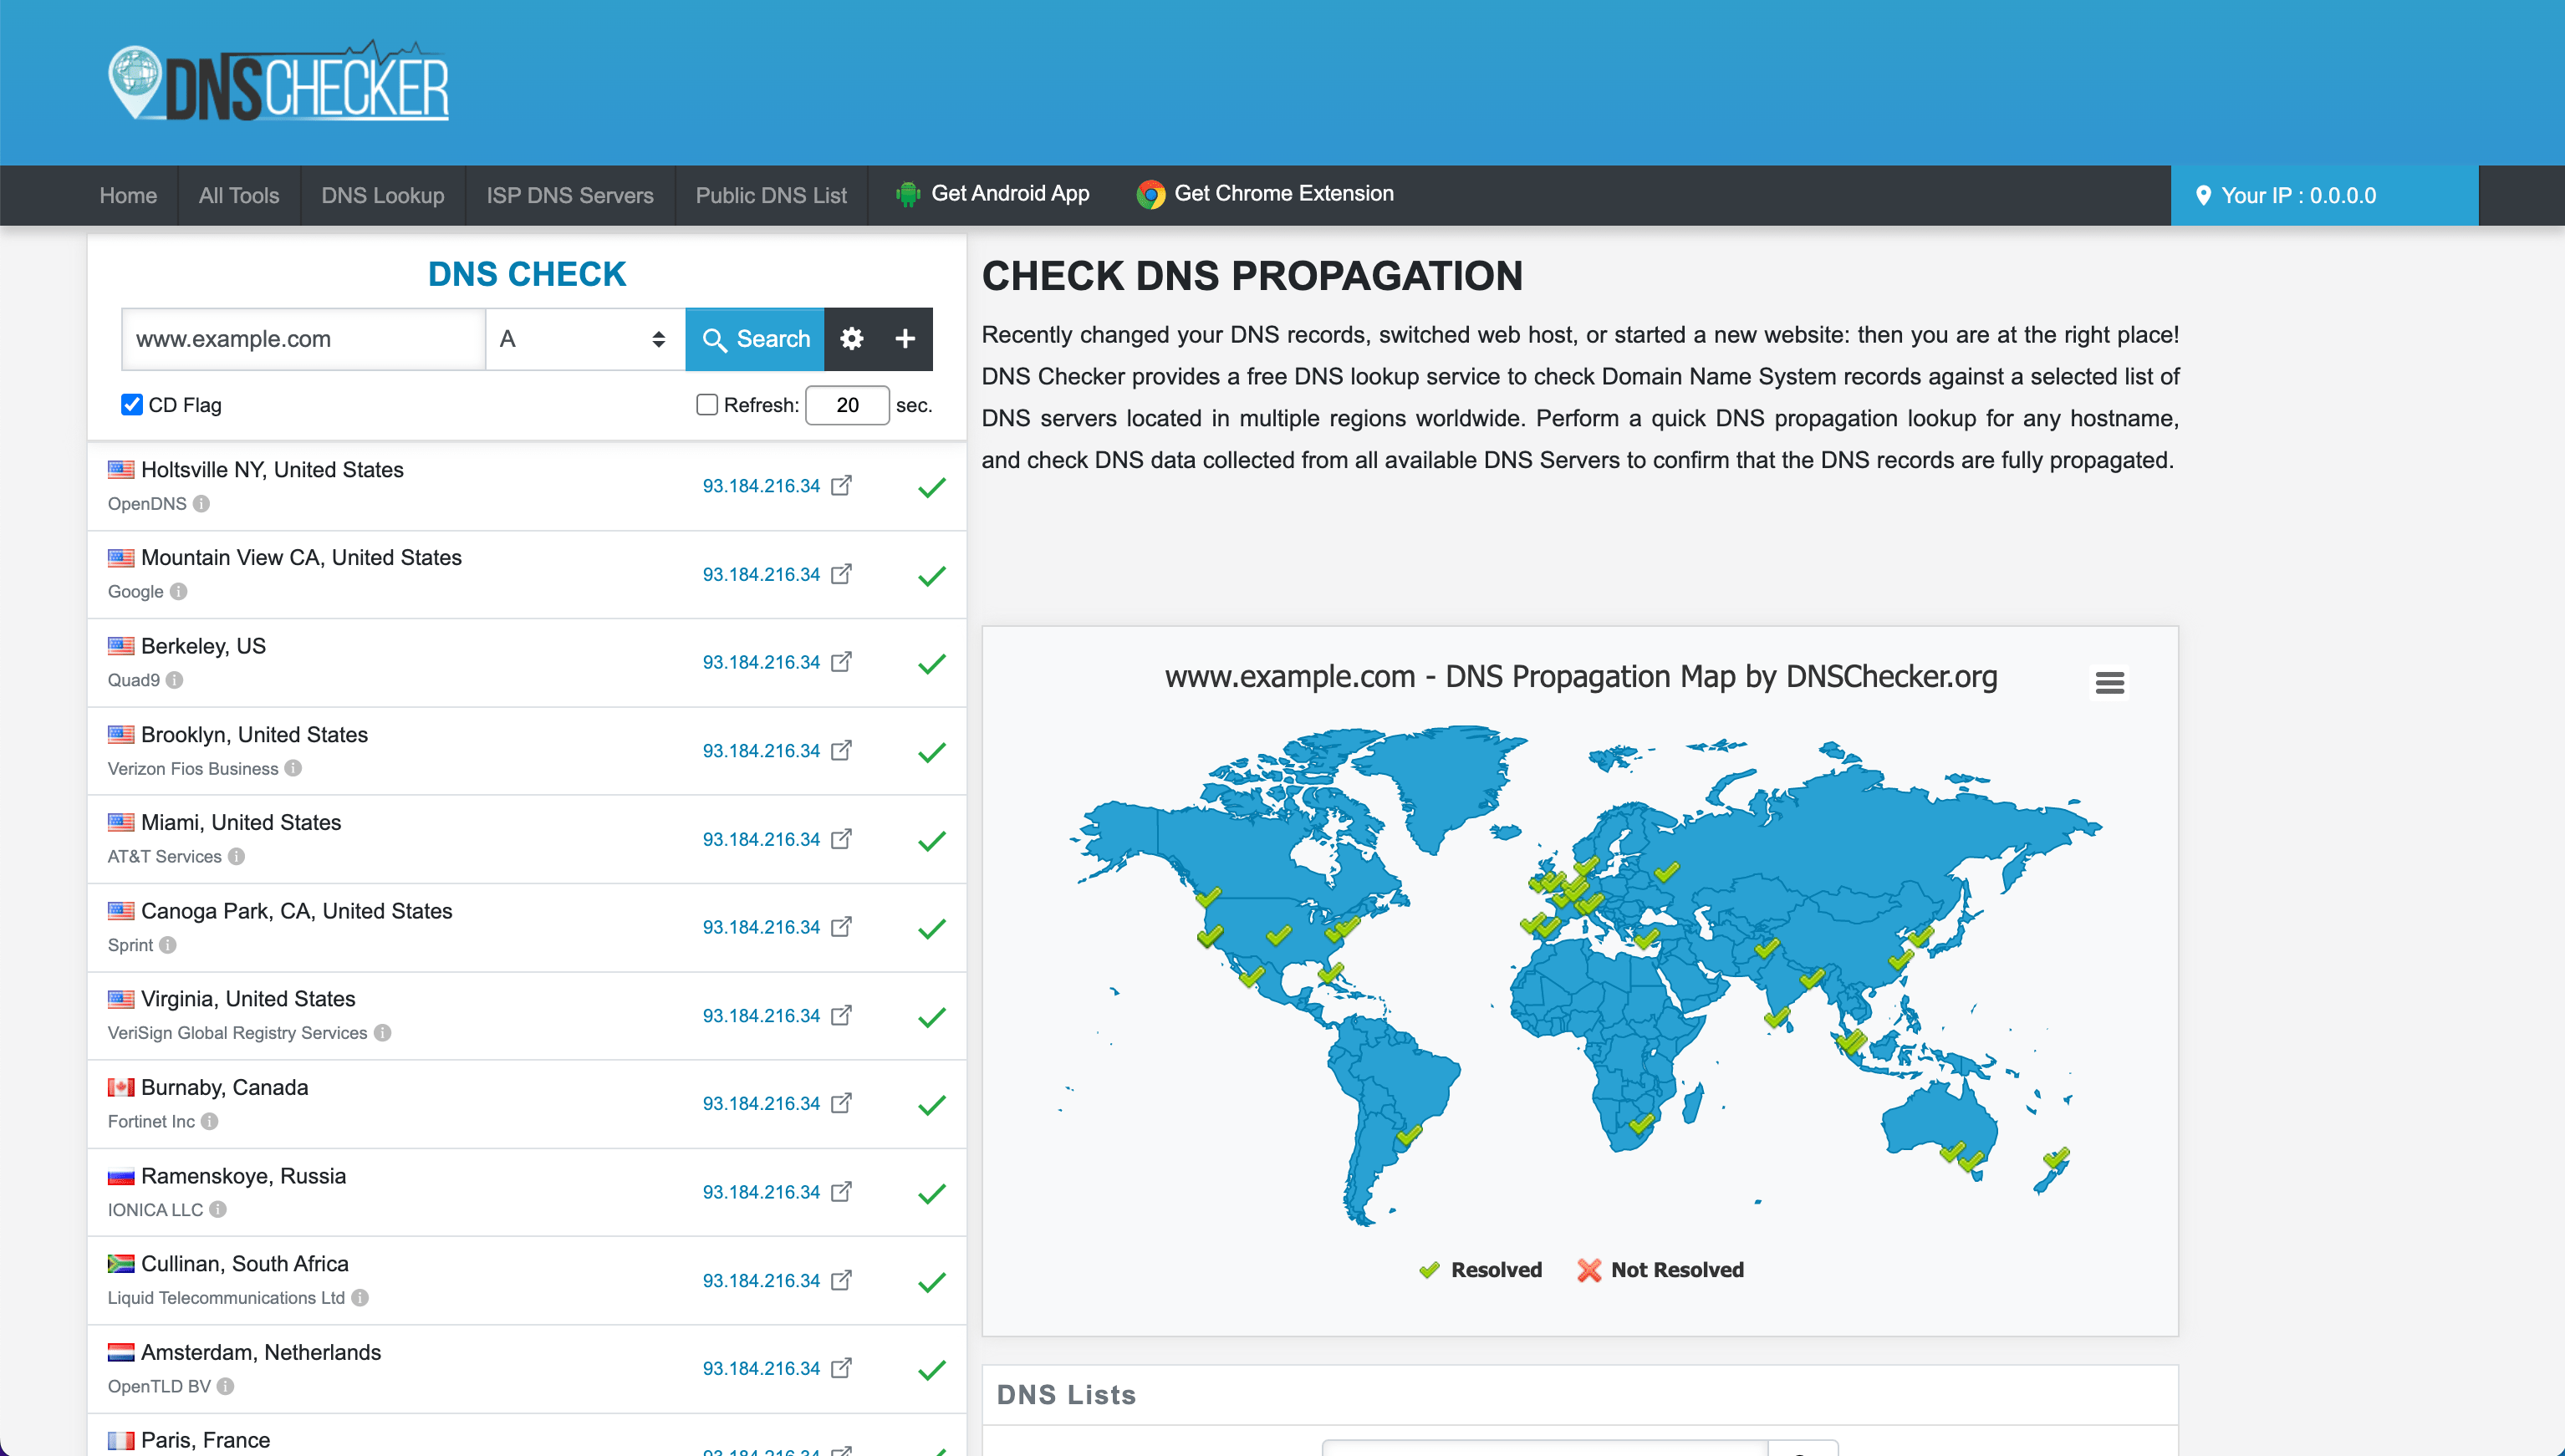
Check DNS
Checking the DNS of a domain can be done through an online tool, such as DNSChecker.org, or directly from your command line through dig or nslookup.
If you do not see the expected results your domain changes may still be propagating. If the value of the TTL for the domain record has elapsed and you still do not see the changes, you may want to check to ensure the domain record has been configured correctly.
DNSChecker.org
dig
From a macOS or Linux device, run the following command:
dig www.example.com
The results will look like the following, with the "ANSWER SECTION" containing the value of where the domain is pointed:
; <<>> DiG 9.10.6 <<>> www.example.com
;; global options: +cmd
;; Got answer:
;; ->>HEADER<<- opcode: QUERY, status: NOERROR, id: 15313
;; flags: qr rd ra ad; QUERY: 1, ANSWER: 1, AUTHORITY: 2, ADDITIONAL: 1

;; OPT PSEUDOSECTION:
; EDNS: version: 0, flags:; udp: 4096
;; QUESTION SECTION:
;www.example.com.       IN  A

;; ANSWER SECTION:
www.example.com.    86400   IN  A   93.184.216.34

;; AUTHORITY SECTION:
example.com.        86400   IN  NS  b.iana-servers.net.
example.com.        86400   IN  NS  a.iana-servers.net.

;; Query time: 68 msec
;; SERVER: 10.64.0.1#53(10.64.0.1)
;; WHEN: Wed Jun 08 12:03:48 MDT 2022
;; MSG SIZE  rcvd: 108
tip
Run dig -h for a complete list of options. Useful options to only get the answer section are +noall and +answer, for example:
dig +noall +answer www.example.com

www.example.com.    86223   IN  A   93.184.216.34
nslookup
From a Windows device, run the following command:
nslookup www.example.com
The results will look like the following, with the "Address" containing the value of where the domain is pointed:
Server:     10.64.0.1
Address:    10.64.0.1#53

Non-authoritative answer:
Name:   www.example.com
Address: 93.184.216.34
Test CloudFlow
Once your site has been setup in CloudFlow you may wish to conduct some testing before directing real world traffic through our platform.
Rather than switching public DNS records and potentially causing downtime due to a misconfiguration, it is beneficial to test your configuration on your local computer before going live.
To do so, either make a curl request that connects to CloudFlow, or edit your local hosts file to map the website directly to CloudFlow.
curl
Follow the steps below to connect to CloudFlow instead of your origin through a curl request:
Obtain the IP address or hostname of your CloudFlow environment (e.g.
123.456.789.10orwww.example.com.c.section.io). This is the value that you can obtain in your environment's DNS or the anycast IP address provided by CloudFlow.Run one of the following commands, replacing the URL and hostname with your values:
curl "https://www.example.com/" --connect-to ::www.example.com.c.section.io -Ikcurl "https://www.example.com/" --connect-to ::www.example.com.c.section.io -D - -sko /dev/nullnote
Making one of the requests above allows the connection to be made to CloudFlow to test a request before updating your DNS to point to CloudFlow. This can be confirmed by making sure the
section-io-idresponse header is returned.tip
You can run
curl -hto get a list of options to customize the request to fit your specific needs.
Hosts file
Follow the steps below to connect to CloudFlow instead of your origin by modifying your local hosts file:
Obtain the IP address or hostname of your CloudFlow environment (e.g.
123.456.789.10orwww.example.com.c.section.io). This is the value that you can obtain in your environment's DNS or the anycast IP address provided by CloudFlow.Locate your local hosts file:
- macOS:
/etc/hosts - Windows:
C:\Windows\System32\drivers\etc
note
The above are the default locations, they may be different on your system.
- macOS:
Open the file with your preferred text editor.
Add an entry into the host file to map the website directly to the origin, for example:
123.456.789.10 www.example.comNavigate to your browser of choice and confirm the
section-io-idresponse header is returned on an asset that is normally delivered by your origin. This can be done in the Network panel in the browser's developer tools.
Bypass CloudFlow
Sometimes an issue might arise but it is hard to tell whether the problem is on the origin or an intermediate proxy.
Rather than switching public DNS records and losing the benefits of caching and other performance optimizations from CloudFlow for all users, which can also exacerbate the issue by increasing traffic to the origin, it is beneficial to bypass CloudFlow on your local computer to run tests.
To do so, either make a curl request that connects to the origin, or edit your local hosts file to map the website directly to the origin.
curl
Follow the steps below to bypass CloudFlow and connect directly to the origin through a curl request:
Obtain the IP address or hostname of the origin (e.g.
123.456.789.10ororigin.example.com). This is the value that you have set as an environment's origin in your application.Run one of the following commands, replacing the URL and hostname with your values:
curl "https://www.example.com/" --connect-to ::origin.example.com -Ikcurl "https://www.example.com/" --connect-to ::origin.example.com -D - -sko /dev/nullnote
Making one of the requests above allows CloudFlow to be bypassed and the connection to be made directly with your origin server for troubleshooting purposes. This can be confirmed by making sure the
section-io-idresponse header is no longer returned.tip
You can run
curl -hto get a list of options to customize the request to fit your specific needs.
Hosts file
Follow the steps below to bypass CloudFlow and connect directly to the origin by modifying your local hosts file:
Obtain the IP address or hostname of the origin (e.g.
123.456.789.10ororigin.example.com). This is the value that you have set as an environment's origin in your application.Locate your local hosts file:
- macOS:
/etc/hosts - Windows:
C:\Windows\System32\drivers\etc
note
The above are the default locations, they may be different on your system.
- macOS:
Open the file with your preferred text editor.
Add an entry into the host file to map the website directly to the origin, for example:
123.456.789.10 www.example.comNavigate to your browser of choice and confirm the
section-io-idresponse header is no longer returned on an asset that is normally delivered by CloudFlow. This can be done in the Network panel in the browser's developer tools.